Cutting Basics
Cut Mode is the heart of Shaper Origin. Once you've scanned your Workspace and placed your designs, you're ready to switch to Cut Mode.

Cut Settings
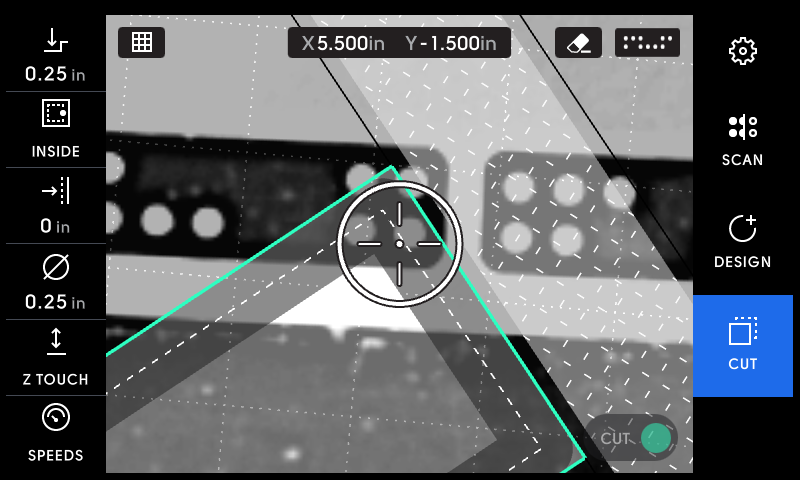
On the left-hand side (top to bottom) you'll see the following settings:
Workspace Setup
To ensure a great end result, use the following checklist whenever you begin to cut:
-
Is the material surface secure?
-
Is the correct cutter installed? Is the collet tight?
-
Is the spindle securely installed in the spindle mount?
-
Have I performed a Z Touch since changing the cutter?
-
Are the cut settings correct? Double check your bit size and cut depth.
-
Are you wearing personal protective equipment, e.g.: eye, ear and respiratory?
-
Have you removed or tied back any loose clothing, jewelry or hair?
Move Origin over the path you intend to cut. Turn the spindle on, and ensure the speed settings are correct for your material.
Grab the handles and tap the green handle button.
Cutting
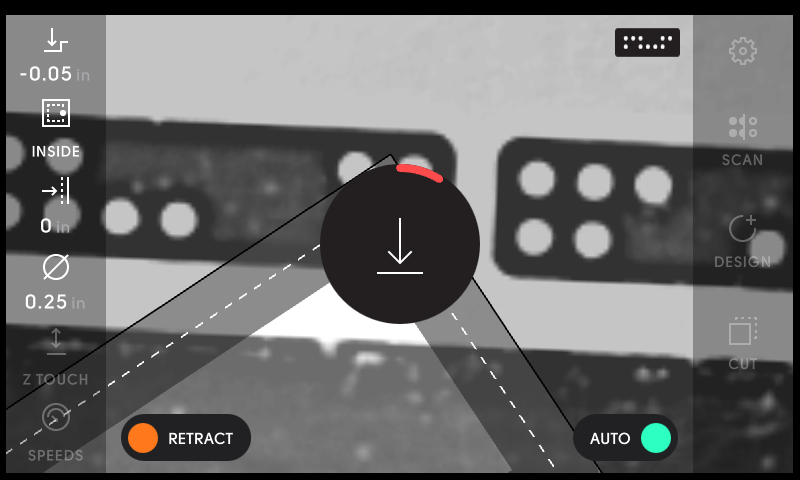
When Origin begins cutting, it plunges the spindle down to the requested depth. When plunging, a black circle appears with a red progress bar, showing you the spindle's approach to your workpiece.
When this progress bar appears, do not move Origin. If moved during plunge, Origin will retract and abort the cut to protect your workpiece.
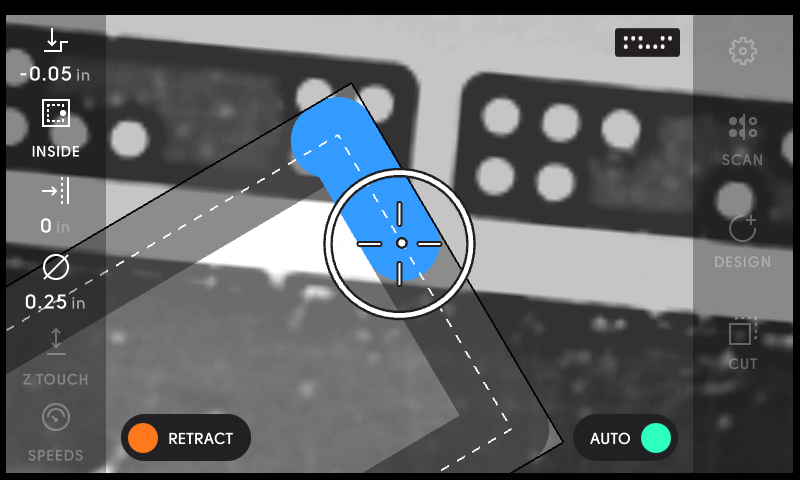
Move Origin along your path, following the direction of the arrow and cut line dashes. Origin will suggest paths that are conventionally cut rather than climb cut to ensure cut quality. 
In the above image, the small white dot indicates where the cutter is, and the outer circle indicates the corrective range. Always keep the small dot inside of the corrective range. If the small dot moves outside of the corrective range, Origin will abort your cut and retract to preserve your workpiece.
Auto
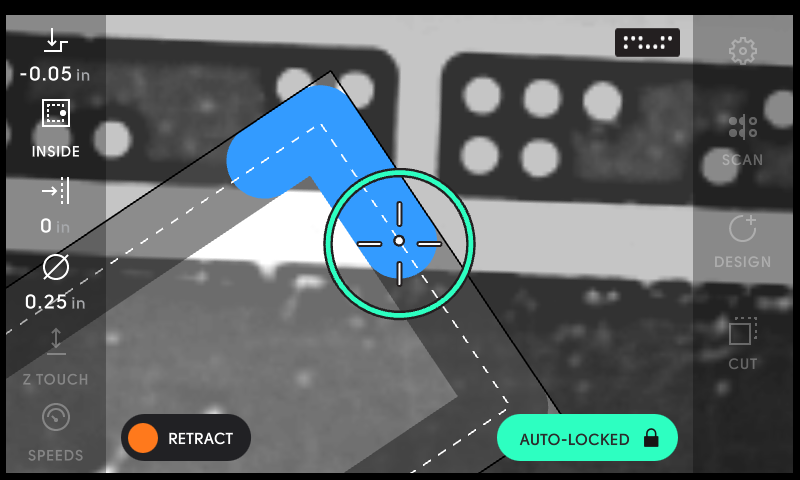
When traveling around corners or navigating complex paths, Auto Mode can be very useful. Double-tap the green button before you begin to cut, and Auto Mode will engage.
The corrective circle will turn green, and the spindle will follow the path until it reaches the end of the corrective range. Move Origin while holding Auto, and Origin will maintain a constant feed rate. Because Origin maintains a consistent chip load on the cutter, cut quality is improved. (Note: Auto mode cannot be used with Pocket cut types.)
Once you finish cutting, press the orange left handle button to Retract.