Common Errors in Taping
A good project starts with a good tape array. Each project you cut will have different requirements and different tape setups as a result. There are, however, a few things you should avoid when setting up a tape array.
Note: all the images you see below are examples of taping behavior to AVOID
Tape MovementYour worksurface and any material with ShaperTape on them should be firmly secured with clamps and/or double-sided woodworking tape. In the workspace below, we used a small amount of double-sided tape and didn’t apply significant pressure to it.

Bumping the lower piece caused a slight shift in the location of the ShaperTape after scanning.
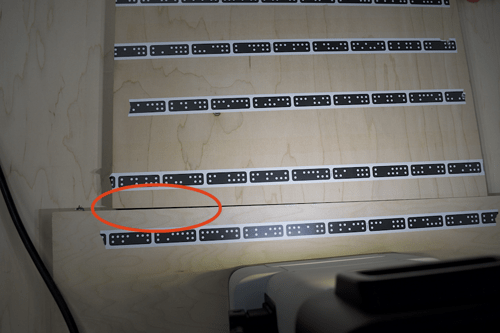
Even slight shifts in location can result in serious problems while cutting and can compromise cut quality and accuracy
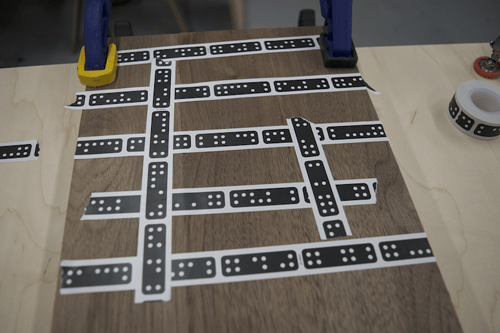
Unadhered TapeShaperTape should always be firmly adhered to a uniform surface. In the examples below, there is tape that hangs of edges or bridges gaps in material. Removing the offending areas should resolve the problem.


Origin will try to register any ShaperTape that is within its field of view, so make sure that your workspace is clear of used ShaperTape and other projects. 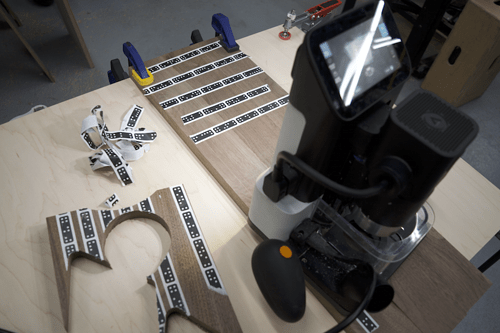
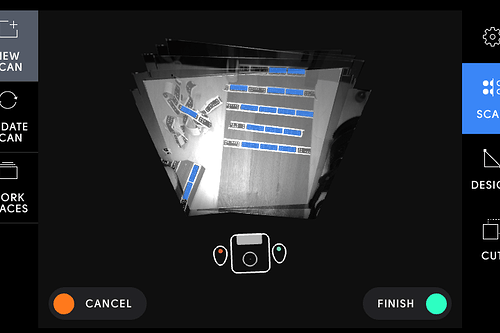
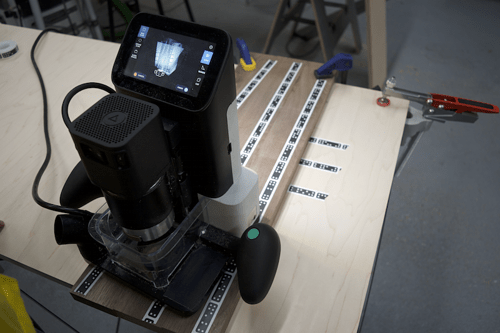
Ensure that all of your tape is on the same plane. When tape isn’t coplanar, you will end up with a low quality or unusable scan.
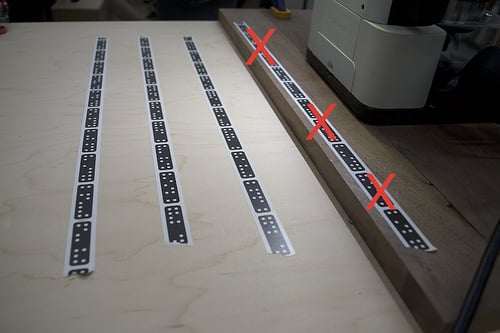
In a setup such as this, you may create a successful scan but you will likely have accuracy issues when cutting. This setup may be OK for playing around or for quick demos, but you don’t want to use it for important cuts.
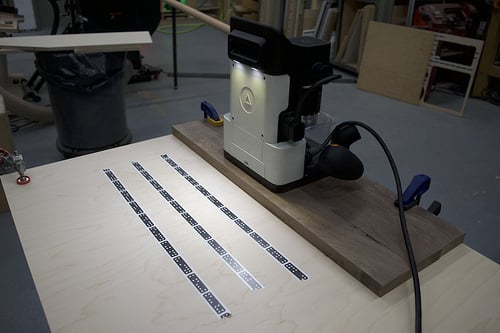
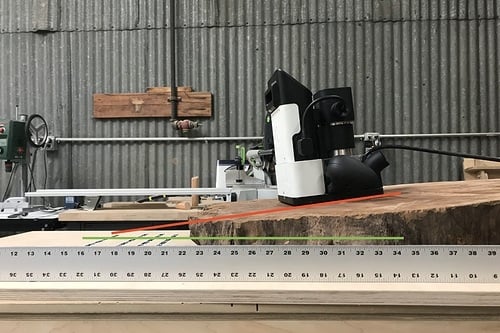
If you are placing tape on any surface other than your workpiece, make sure that that surface and your workpiece are parallel to each other.
By definition, that should already be true but with milled wood it can be easy to miss warps, twists, and bumps that cause Origin to tilt and not be parallel. Cutting in this scenario can lead to distorted cuts. Below is an extreme example of a pre-milled slab that is a lot thicker on one end, making it non-parallel to the taped surface.
Other Potential Problems
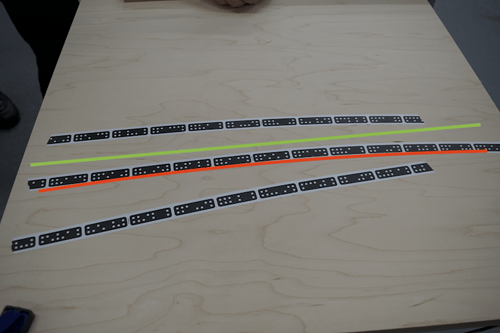
Make sure your ShaperTape is perfectly flat, without bubbles or creases.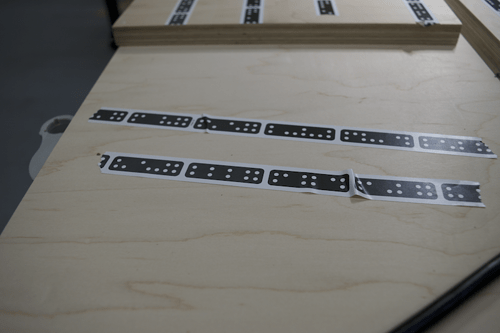
Don’t overlap tape. Even the slight thickness of the bottom tape means that your tape isn’t entirely coplanar.
