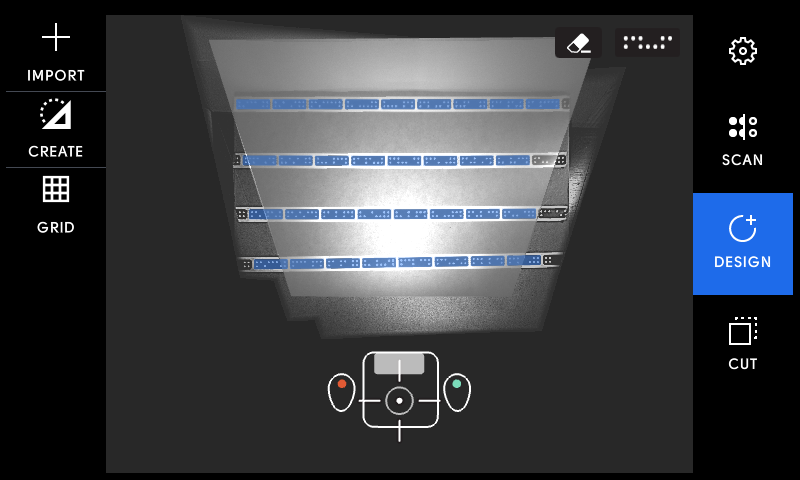
Basic Placement
To place a design in a scanned Workspace, tap 'Import' in the upper left corner of the screen when you are in Design Mode.
Tap My Files to import a design that is stored in your Shaper Account. Tap USB to add a design from a USB drive. Tap Workspaces to browse your exported Workspaces.

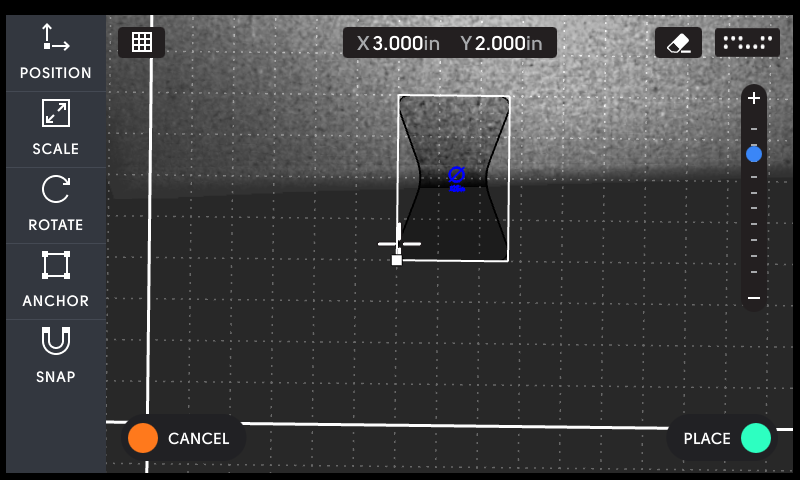
After selecting your file, you'll see it overlaid on your Workspace. Move Origin around to manually adjust where it gets placed. The white square represents the current location of your bit.
You can also adjust the design via Scale, Rotate, and Anchor. When you are happy with the location of your design, tap the green button to Place.
Placing with a Grid
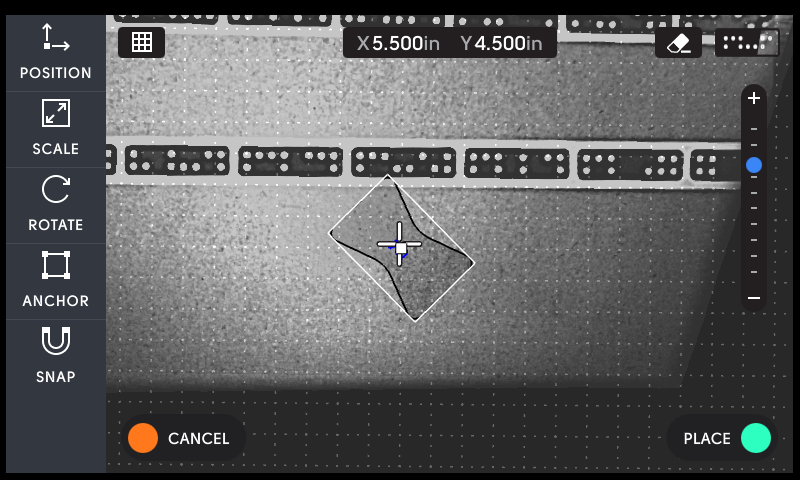
If you've added a Grid to your Workspace, you'll be able to use Position to locate your object in your Workspace.
Before placing your object, you can select the Anchor Point that will be used to snap to Grid coordinates. Read more about Anchor Point selection here.

The location of the anchor point is given in (x,y) coordinates at the top of the screen.
To freely place your design without snapping to the grid, you can toggle the Snap setting.
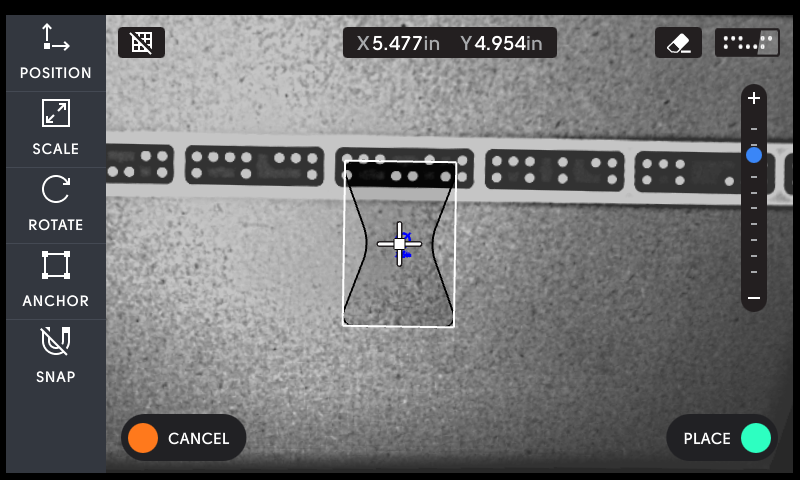
You can select the placement of your object manually by moving Origin around, or you can use the Position feature to enter grid coordinates for your object.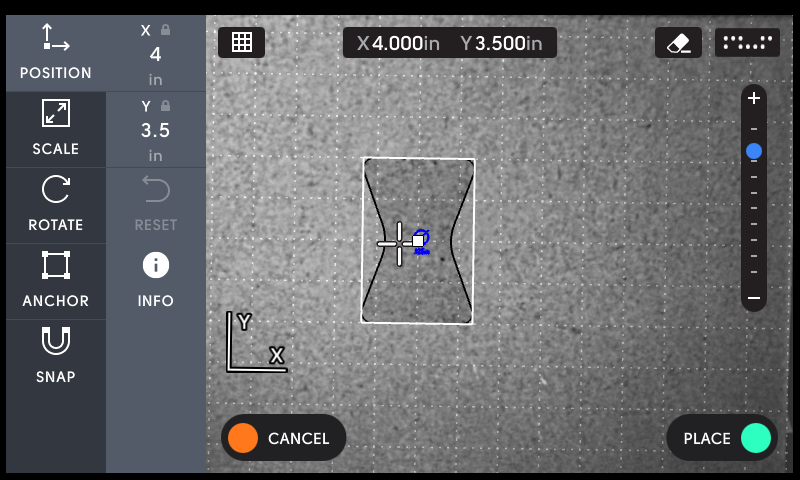
You can use the zoom bar on the right side of the screen to zoom in or out in your workspace for precise placement.

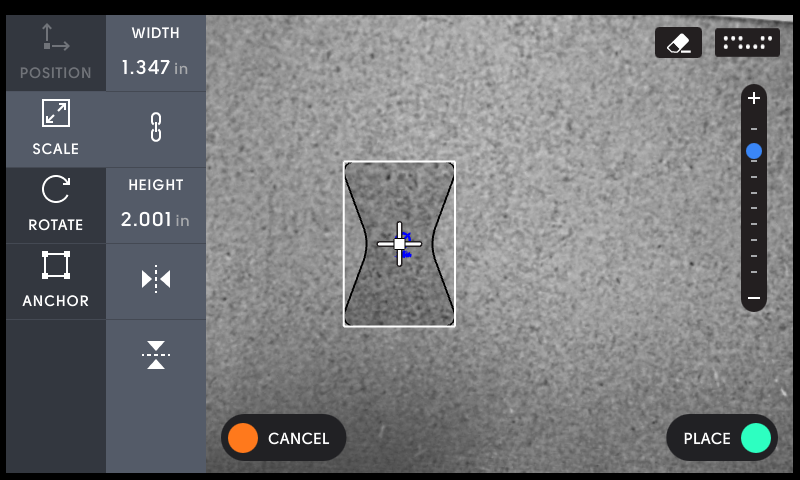
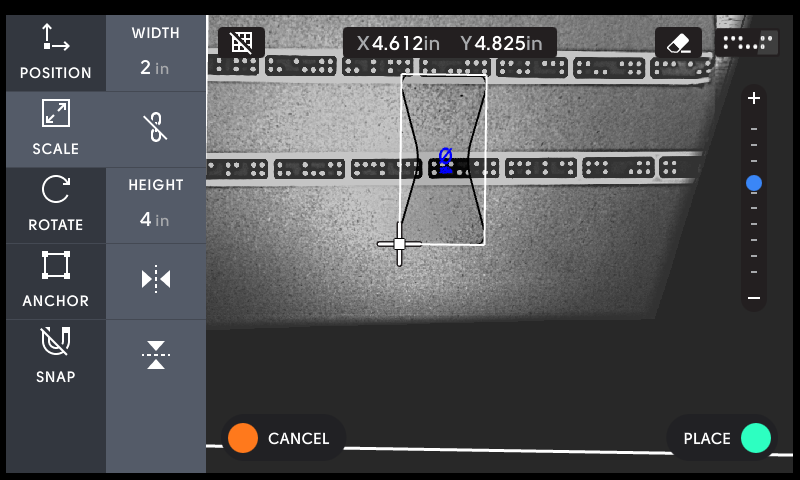
Scaling
To change the size of your design prior to placement, tap the Scale icon. You can then set the width and/or height of your design. When the Proportional setting (chain icon) is enabled, the other dimension will automatically adjust to ensure that your design doesn't become distorted.
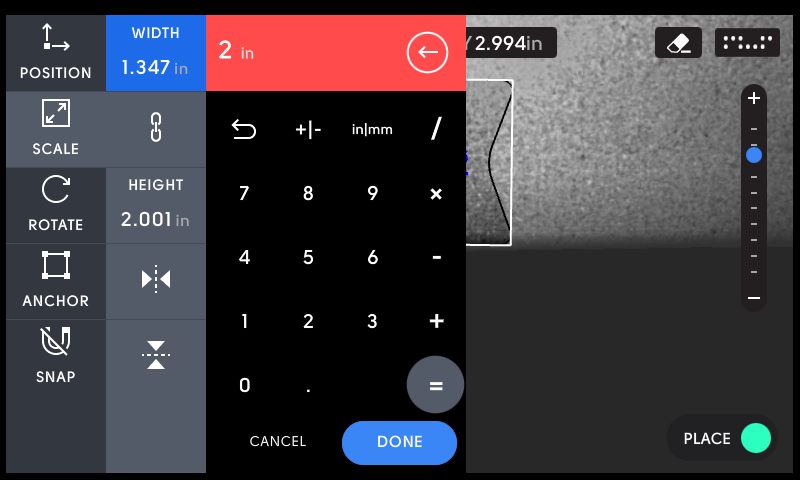
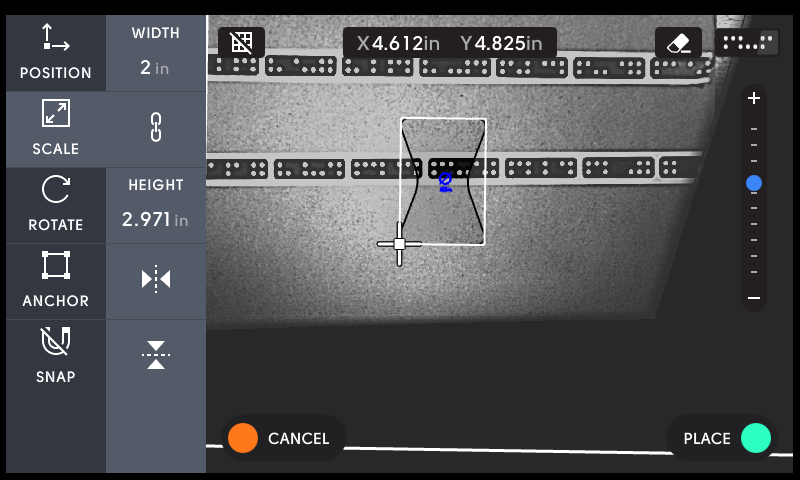
To distort your design, you can disable the Proportional lock. 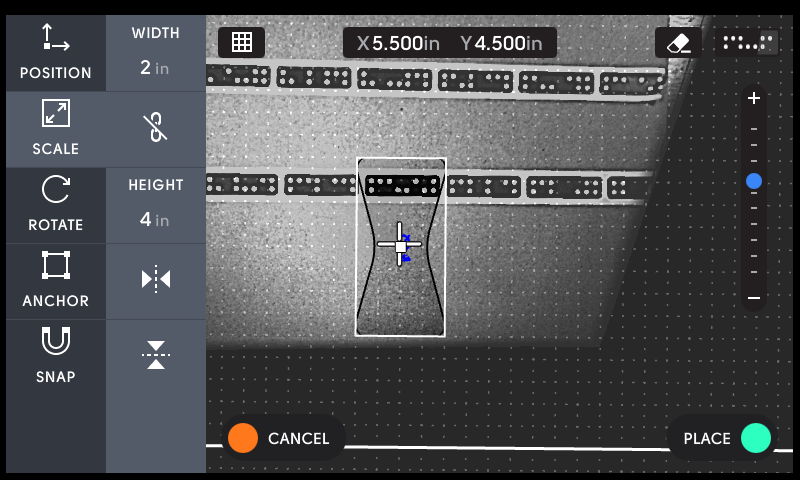
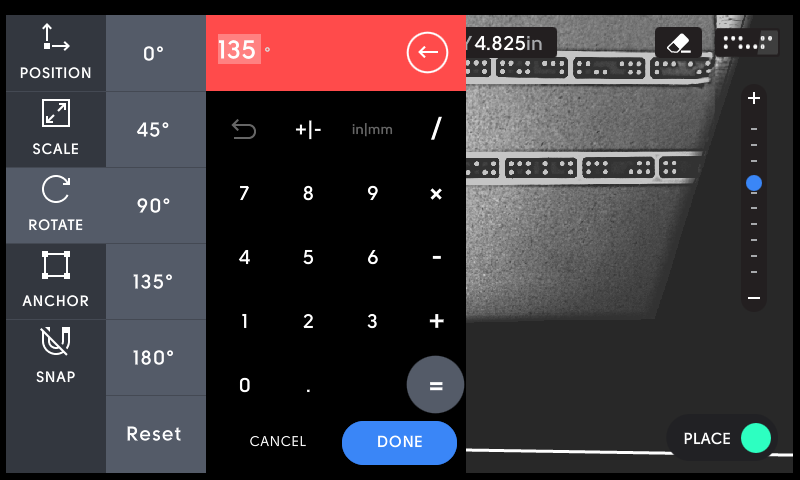
Rotating a Design
You can also rotate your design. You can use the preset values or enter a specific degree of rotation.