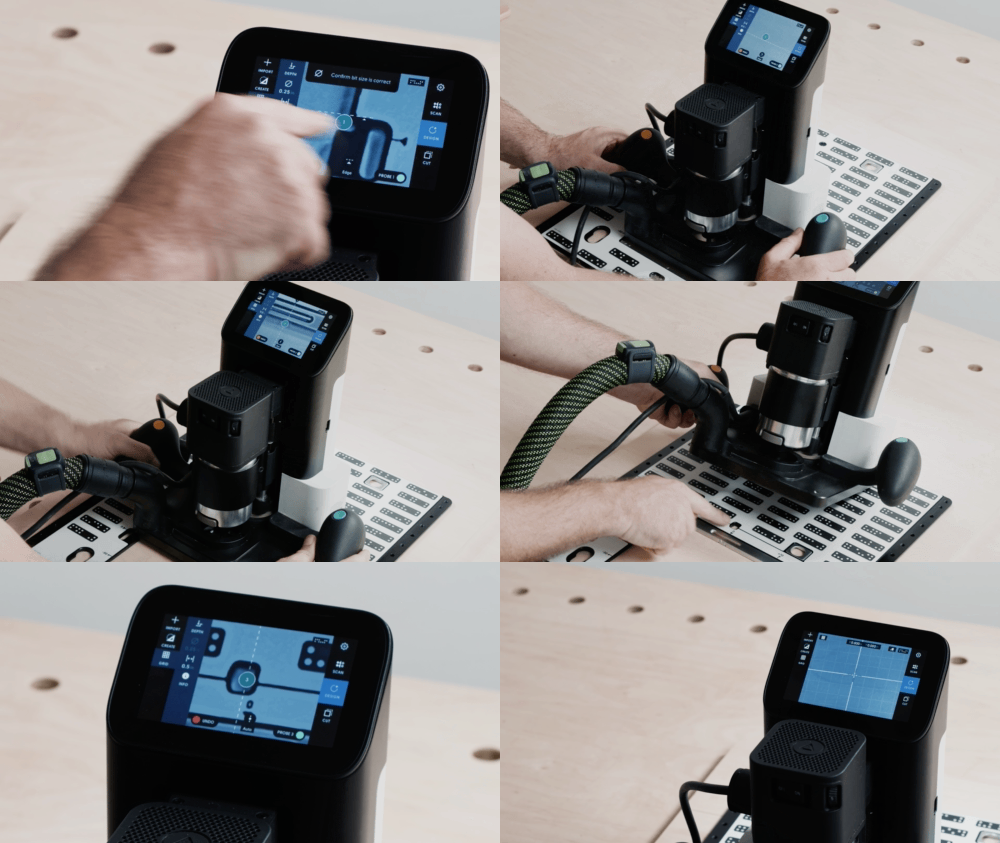
Scanning Plate and Creating Reusable Workspaces
We recommend scanning and gridding Plate once to create a template Workspace. Using Plate for different operations is then a simple matter of duplicating the template workspace to use with specific cut files.
Set Up
Place Plate on a flat surface. Since the Scan will be reused for multiple cut files and multiple Workpieces, we recommend using a neutral background such as light wood or a piece of paper behind Plate's window.
Perform a Scan

Scan Plate following Origin's normal Scanning procedure. Use the recommended "lawnmower" technique for a high quality scan.
Set a Grid

Create a Grid in the Workspace by going to Design Mode and selecting Grid.
To define the X-axis, probe the two points at the center-left and center-right of Plate's window.
Make sure the dotted line on Origin's screen aligns with the edges being probed - for the X-axis, the dotted line should be below the probe on Origin's screen.
To define the Y-axis, probe the centerline above Plate's window. Here the dotted line on Origin's screen should appear to the right of the virtual probe.

With the X- and Y-axes defined, a Grid will appear with point (0,0) at the exact center of Plate's Window.
10mm is the most useful Grid increment. Plate's features are multiples of 10mm from the center point.
For a more detailed description of how to Grid on Plate, consult these instructions.
Import Guide Template

To help keep track of Plate's dimensions and alignment features, we've created a helpful template available here. Place the custom anchor point at (0,0).
Name Template Workspace
Return to Scan Mode and navigate to select Workspaces.

Find the most recent scan, and tap the menu button to the right of the workspace name, then select Rename.

It's useful to rename the template workspace something easy to remember, like "Plate - Template."


Duplicating the template workspace will copy the original Scan, Grid, and Guide Template so it will be instantly ready to import a cut file. Remember to rename the new workspace so it's easier to remember what it stores.