Using the Pen Tool
The Pen tool is a very useful tool for doing on-the-fly designs, especially when used in conjunction with the other Design Mode tools.
Basic Use
To start a new drawing, tap the Pen icon within Design mode.
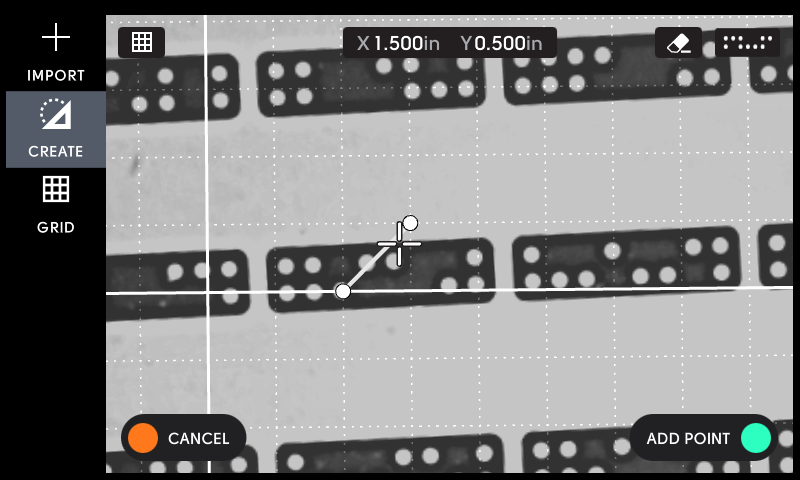
To move the cursor, move Origin around your Workspace. When you're at your desired starting point, tap the green button on the right handle to add your first point.
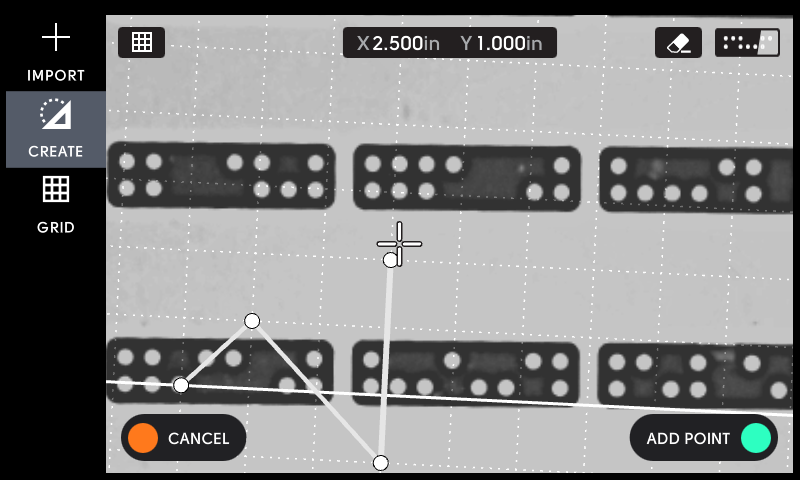
You can then add more points by moving Origin around your material and using the Green button to add a new point.
To complete your shape, move the cursor near one of your already placed points. When you see it turn blue, you will be able to tap the green button to Finish your shape.
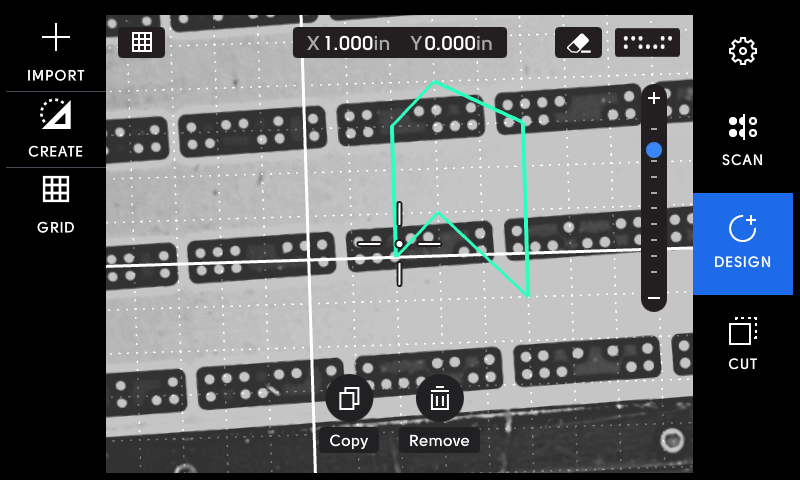
Note: if you connect with your first point, you will create a closed shape that can be cut with Inside, Outside, On Line, and Pocket cut types.
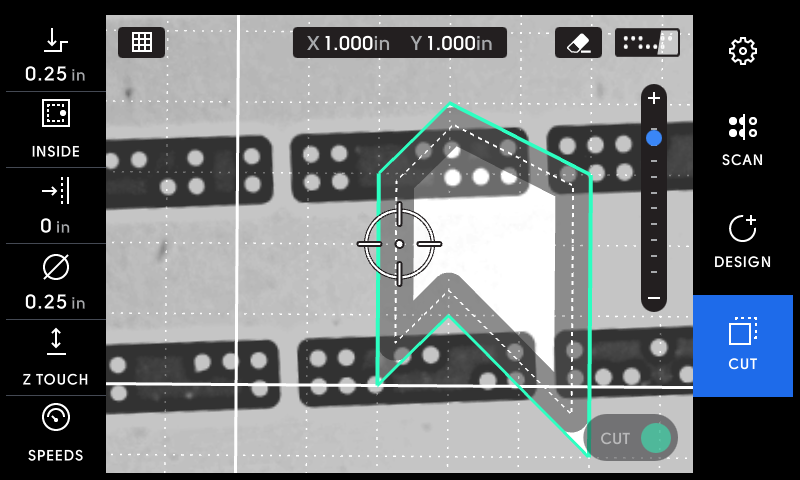
If you create an open shape, you will only be able to make point-to-point on-line cuts.
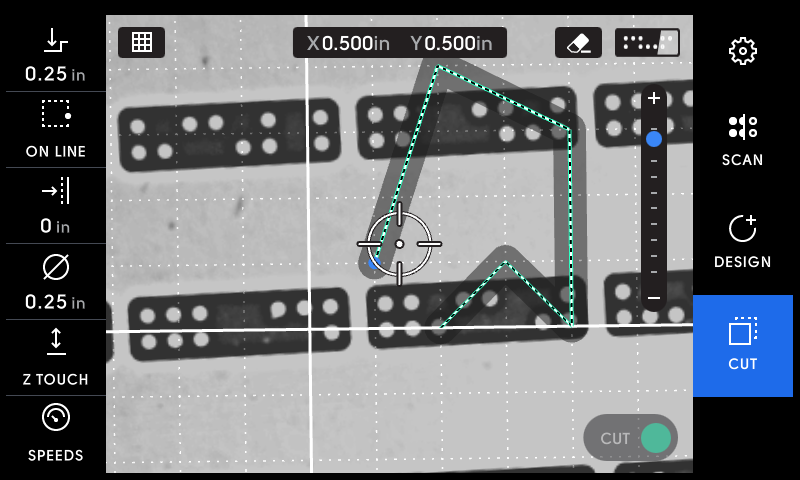
Tracing an Object or Drawing
The pen tool becomes especially powerful when you want to trace an obscure straight edge shape or drawing. To do this, place an object or draw on your worksurface. Make sure that the object or sketch visually contrasts with the material. (Taping your surface with painter's tape and drawing with a black marker works very well)

Then scan your material as you normally would. Once the scan is complete and the workspace has been created, remove the object. When you move the spindle over the location of the object or drawing, you will see it on screen. You can now select the Pen tool to start tracing.

Following the basic instructions above, move around your object's image, adding points to each vertex of the shape.

To complete the shape, move over your first point and tap 'Finish' on the screen or right handle. You can now cut this shape when in Cut mode.

You may also want to try:
-
Using a Grid to snap to specific points
-
Combining pen drawings with circles and rectangles