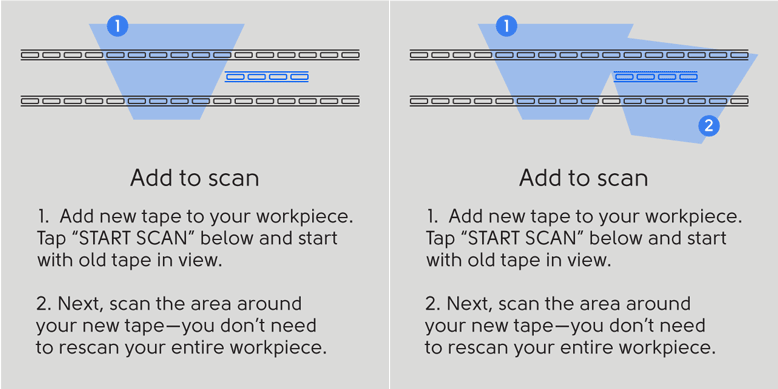
Add to Scan
Once you have placed your design in your workspace, it is a good idea to trace your cut paths in Aircut mode. Keep an eye on your tape indicator in the upper right-hand corner of the screen. If at any point it dips below half-full, you’ll want to add more tape to your workspace and add to your scan.

After adding new tape, tap 'Scan' to return to scan mode. Then tap the 'Add to Scan' tool to add to your current scan.

When ready, tap the green button on the right handle to begin scanning. Make sure that Origin can see some of your original dominos as you start to scan. Scan the new tape you’ve laid down and the original tape surrounding it. When you have completed your scan, tap the green button again. Your workspace will now include the new tape and any new marks you’ve made in the scanned area.

Keep in mind that you can continue to Add to Scan as you cut. If you cut through dominos, Origin will be unable to read them. Simply remove the cut or unreadable dominos (they are the dominos that do not show up blue during scanning) from your workspace. Then reapply tape on uncut portions of your workpiece or on your surrounding coplanar workspace, and Add to Scan again.
